Stains on The Walls or Ceilings
You’ve checked the weather app, the weather channel, or maybe the Farmer’s Almanac, and they’re all telling you the same thing—a hard freeze is coming. This article will outline the reasons why you need to protect your outdoor faucets, and how to keep your outdoor spigots from freezing. There’s nothing worse than a burst pipe in the middle of winter, so stay tuned for these helpful tips on how to prevent frozen faucets and pipes!
Why Do You Need to Winterize Your Outdoor Faucets?
How bad can a frozen faucet be, anyway?
Why do I need to “winterize” my outdoor faucets in the first place?
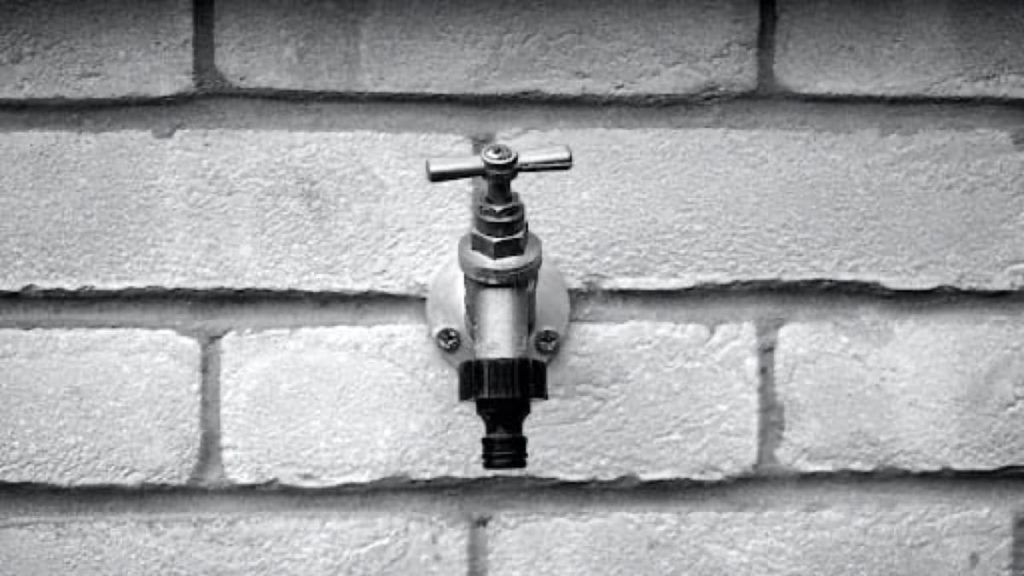
All the pipes and plumbing inside the house obviously stay warm and unfrozen in winter by being inside the house. On the other hand, outdoor faucets are potential doorways to cold conditions outside the house. They can freeze, block, and even burst pipes even deep within the house.
How Do Outdoor Faucet Covers Work?
The most common way to prevent an outdoor faucet from freezing is by using a faucet cover. Available at any hardware or home supply store, a faucet cover does exactly what the name implies: it covers the faucet and protects it from winter elements.
Usually made of thick insulating materials like plastic and styrofoam with a pull-through cord to attach to the spout, faucet covers range in price from about $5–15 and are a must-have for any homeowner.
How to Install a Faucet Cover
Here’s how to install a faucet cover to keep your outdoor spigots from freezing during the winter.
1. Disconnect hose
Disconnecting the hose is the first step when winter-proofing your outdoor faucet. If there is any water left in the hose, it can trap water and either break the hose or back up into the pipes and cause internal damage when a freeze hits.
2. Inspect spigot
Next, inspect the spigot for any drips or leaks. Even a tiny drip can indicate a leak that can cause major problems down the line.
3. Drain remaining water
This is the most important step before placing the cover over the faucet. Make absolutely sure that there is no water left that will come out of this outdoor spigot by shutting off the water line that leads to this spigot, then opening up the faucet for at least an hour. This will ensure that no water remains.
4. Install cover
Finally, the step you’ve been waiting for: install the faucet cover! While there are several different types of faucet covers, most use insulated material in a rectangular dome to keep out the freezing air.
Instead, You Could Install a Frost-proof Faucet
Another way to keep your faucet from freezing is to replace the faucet itself and install a frost-proof faucet. Freeze-proof or frost-free faucets (also called sill-cocks) are designed to prevent any water from building up and potentially freezing. Frost-free faucets can cost anywhere from about $35–$65, with additional installation costs.
Unless you have experience with plumbing DIY, it might be best to leave installing this device to the professionals. While frost-free faucets are a bit more expensive than regular outdoor spigots, they save money in the long run by cutting down on the risk of frozen and broken pipes, which can be costly to repair and replace.
How Do Frost-free Faucets Work?
What’s so freeze-proof about frost-free faucets?
They work by keeping the line clear of water after use, and with a valve that is further inside and away from freezing conditions. Instead of the valve to turn the water on and off being a part of the spigot outside the house, the valve is located inside the house at the end of a long tube. Because the valve is further indoors, it is less likely to freeze.
The long tube leading to the outside faucet is designed to be self-draining. Every time you use a frost-free faucet, the water will automatically drain out instead of staying blocked up behind the external valve. While there’s nothing about the materials of the faucet that keep it warm, the design prevents water from being present in the pipes, thus preventing freeze damage.
How to Install a Frost-free Faucet
If you’re feeling confident in your DIY and plumbing skills, you can install a frost-free faucet yourself. Depending on what material your pipes are made from, this process can involve soldering. Follow this step-by-step guide to install your frost-free faucet and prevent freezing in your outdoor spigots.
1. Drain the water
Before you can start uninstalling the old faucet, first shut off the water supply to this faucet. Open up the outdoor faucet and allow all the water still in the pipe to drain away.
2. Prepare the supply line
The outdoor line will connect to the water supply line in an indoors accessible location. This is where you will cut the line and attach the new line leading to the new faucet.
When you cut the line, use the appropriate tool for the material. For example, for copper pipes, use a tubing cutter, or for PVC pipes, use a hacksaw.
After cutting the line, prepare the area for joining by sanding down the cut end with sandpaper or emery cloth. A smooth and clean end will allow for a better connection when you join the new faucet line.
3. Replace the faucet
Remove the outside faucet by taking out any support screws and prying it free of any sealant or caulk. Your new frost-free faucet should have a pipe the same diameter and length as the previously installed faucet. You may need to cut off any excess length of pipe to join it to the water supply line.
If the hole where the spigot goes is a bit too big for the new faucet, you can use an adhesive caulk to help seal out the cold.
4. Install the new faucet
Depending on the type of joining your new faucet has, you will use different techniques to attach the new pipe. If the new faucet has push-fit fittings, you will simply push the new pipe all the way in until it reaches the depth required for the push-fit to catch, usually about 1–2 inches. With a standard threaded type, use teflon tape to ensure the join will be secure and watertight. If you are using copper pipes, you will need to remove the stem assembly, solder the connection, and then reinstall the stem assembly.
After completing the internal pipe connection, finish attaching the outdoor faucet with weatherproof screws.
5. Test the faucet
You will want to run the new faucet to check for leaks and flush out any flux. Turn back on the internal water supply line, then open up the outside faucet. You should have a functioning frost-free faucet!
Can You Claim Insurance If a Hazard Happens Due to a Frozen Faucet?
Everyone always wants to know, can I claim insurance on damage from a frozen faucet? The answer is, it depends.
Every policy is different, and while it is typical for burst pipes to be covered, some policies may not cover damages from lack of upkeep, such as wear and tear or unprotected outdoor faucets.
Check your insurance provider to see what kinds of hazards are covered, and protect your outside faucets to stop the damage before it has a chance to start.
Final Thoughts
We hope this article has been helpful in educating you on the dangers of unprotected outdoor faucets and how to protect your outdoor spigots from freezing. Use these helpful tips to prevent damage to your faucets and pipes this winter!
Demarco Restoration offers full-service disaster repair and restoration, so the next time you have a burst pipe or damage from bad weather, give us a call!